How To Cook Eggs That’ll Make You a Breakfast Hero
We’re about to delve into the seductive, enigmatic universe that is—the egg. It’s modest, it’s unassuming, but let me tell you, it holds the power to either make or break your morning. Whether you’re a Michelin-starred chef or someone who still burns toast, mastering how to cook eggs is your rite of passage. So, put on that apron like you’re suiting up for battle; we’re going to crack, sizzle, and finesse our way to egg nirvana. Buckle up.
Understanding the Basics of How to Cook Eggs
When cooking eggs, you need to know a few essential things. Understanding the basics of cooking eggs will ensure that you cook them properly and allow you to experiment with different cooking methods and create delicious dishes. In this article, we will walk you through the steps of cooking eggs in various ways, from boiling to frying, basting to scrambling, poaching to baking, and making omelets. So, let’s dive in and explore the wonderful world of cooking eggs!
Knowing your ingredients
Before we delve into the different cooking methods, let’s take a moment to understand the critical ingredient: eggs. Eggs are a versatile and nutritious food. They are an excellent source of protein, vitamins, and minerals. When purchasing eggs, it’s essential to check their freshness. Fresh eggs will have a clear egg white and a firm yolk. If you suspect an egg may be spoiled, you can perform a simple freshness test by placing it in a bowl of water. It is fresh if the egg sinks and lies flat on its side. If it stands upright or floats, it is best to discard it.
Choosing the right eggs for cooking
When cooking eggs, the type of eggs you choose can make a difference. Fresh eggs are generally preferred for cooking as they have a better taste and texture. You may also consider choosing organic, free-range, or cage-free eggs depending on your dietary preferences or restrictions. These types of eggs come from hens that have been raised in more natural and humane conditions, which can enhance the flavor and quality of the eggs.
Necessary kitchen utensils
To successfully cook eggs, it’s crucial to have the proper kitchen utensils at hand. Here are some essential tools that will come in handy:
- Pot: For boiling eggs, you will need a large pot to hold the eggs you plan to cook.
- Pan: A non-stick frying pan is ideal for frying eggs.
- Whisk or fork: You’ll need a whisk or fork to beat the eggs when scrambling or making an omelet.
- Slotted spoon: This will be useful for removing boiled or poached eggs from water.
- Baking dish or ramekins: If you plan to bake eggs or make frittatas, you’ll need a baking dish or individual ramekins.
Now that you understand the ingredients and utensils needed, let’s move on to the different cooking methods for eggs.
Boiling Eggs
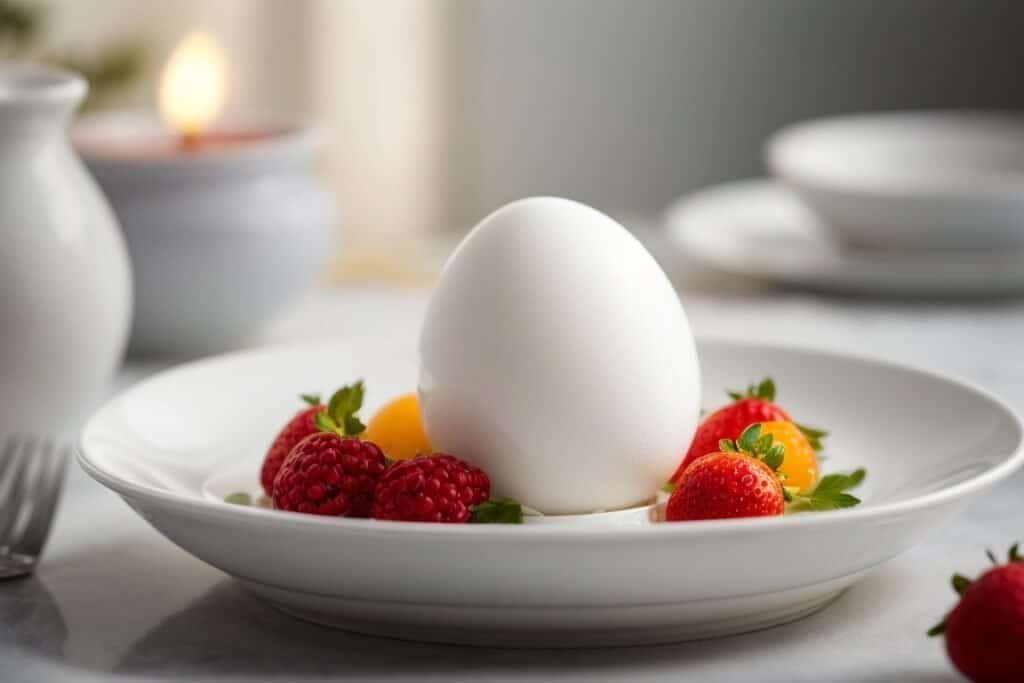
Boiling eggs is a classic and simple way to cook them. Whether you prefer soft, medium, or hard-boiled eggs, here’s what you need to know.
Choosing the right pot size
When boiling eggs, it’s essential to choose a large pot to hold the eggs in a single layer. This will allow for even cooking and prevent overcrowding. The eggs may crack or cook unevenly if the pot is too small.
Cold water vs. boiling water start method
There are two standard methods for boiling eggs: the cold water start method and the boiling water start method.
With the cold water start method, you place the eggs in a pot and cover them with cold water. Then, you gradually heat the water until it reaches a rolling boil. This method is ideal for avoiding cracked eggs, as the gradual temperature increase helps gently cook the eggs.
The boiling water start method involves placing the eggs in a pot of already boiling water. This method is quicker, but the sudden temperature change increases the risk of eggs cracking. However, if you carefully gently lower the eggs into the boiling water using a spoon, this method can also yield perfectly cooked eggs.
Timing for soft, medium, and hard-boiled eggs
The cooking time for boiling eggs depends on how you want them done. Here are some general guidelines:
| Soft-boiled Eggs | Medium-boiled Eggs | Hard-boiled Eggs | |
|---|---|---|---|
| Cooking Time | Approx. 4-6 minutes | Around 7-9 minutes | 10-12 minutes |
| Yolk Texture | Runny, custard-like | Creamy, partially set | Fully cooked, no softness |
Remember that these times may vary slightly depending on the size of the eggs and the desired level of doneness. Doing a test run with one egg is always a good idea to determine your preferred cooking time.
Cooling and peeling boiled eggs
Once the eggs are cooked to your desired level, it’s important to cool them down properly before peeling. This will prevent the egg white from sticking to the shell and make peeling easier.
To cool boiled eggs, transfer them to a bowl of ice water or run them under cold water for a few minutes. Let the eggs sit in the cold water for at least 5 minutes to ensure they are thoroughly cooled.
To peel boiled eggs, gently tap the egg on a hard surface to create cracks all over the shell. Then, roll the egg gently between your palms, applying light pressure to loosen the shell. Finally, starting from the wider end, peel the shell off carefully, ensuring you remove all the shell fragments.
Boiled eggs can be enjoyed or used in various dishes such as salads, sandwiches, or breakfast bowls. Now that you know how to boil eggs, let’s move on to frying them.

Frying Eggs
Frying eggs is a popular cooking method that allows you to enjoy eggs with a delicious crisp edge and a runny or fully cooked yolk, depending on your preference. Let’s explore the basics of frying eggs.
Choosing the right pan and oil or butter
To fry eggs, choosing a non-stick frying pan is vital to prevent the eggs from sticking. Ideally, the pan should be wide enough to fit the number of eggs you plan to cook without overcrowding.
When cooking fat, you can choose between oil or butter. Oil, such as vegetable or canola oil, is a neutral option that allows the flavors of the eggs to shine. Butter, on the other hand, adds a delicious richness and flavor to the eggs. Choosing between oil and butter depends on your preference and dietary needs.
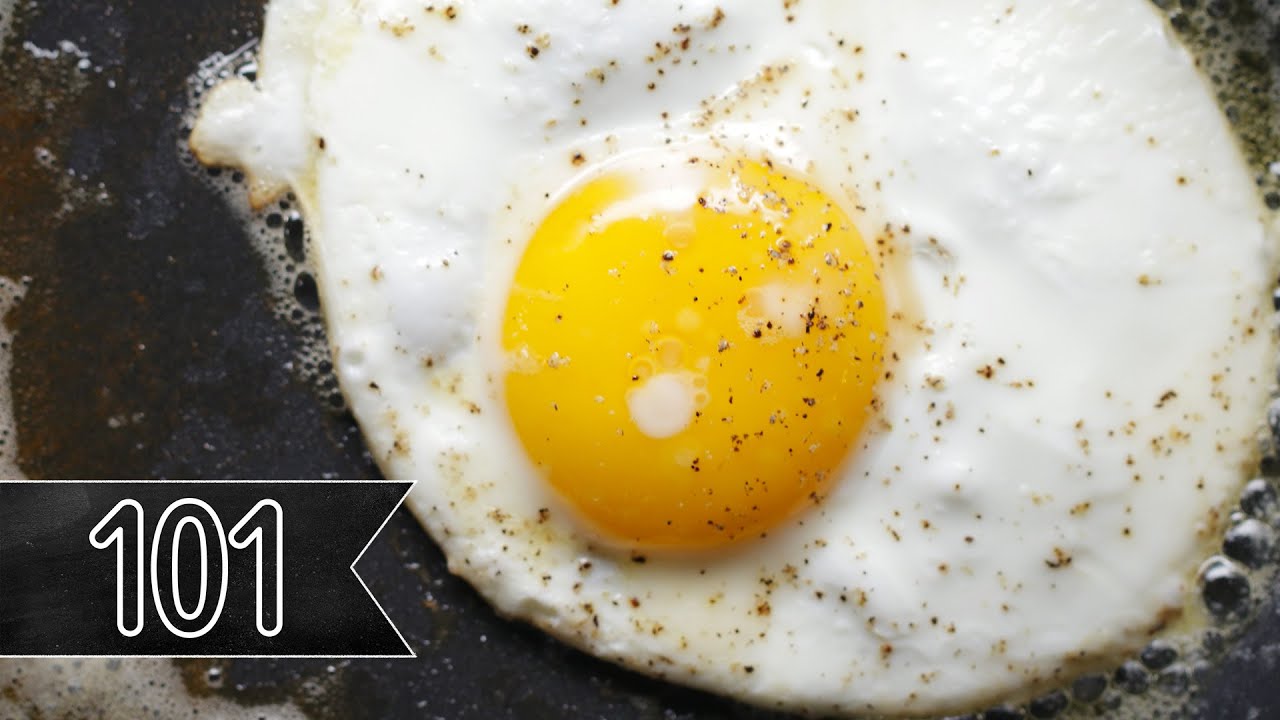
Frying eggs sunny-side up

Start heating the frying pan over medium heat to fry eggs sunny-side up. Add a small amount of oil or butter to the pan, just enough to coat the bottom. Once the fat is hot and melted, carefully crack the eggs into the pan, being cautious not to break the yolks.
Cook the eggs for a few minutes until the whites are set, but the yolks are still runny. You can cover the pan with a lid for a minute or two to ensure the tops of the eggs are set without flipping them.
Once cooked to your desired level, carefully use a spatula to transfer the eggs to a plate. Season with salt and pepper and serve them as they are, or pair them with your favorite breakfast sides.
Explaining over-easy, over-medium, and over-hard eggs
If you prefer fried eggs with a cooked yolk, you can quickly achieve this by flipping them over during cooking. Here’s how to make over-easy, over-medium, and over-hard eggs:
| Over-easy | Over-medium | Over-hard | |
|---|---|---|---|
| Step-by-Step Instructions | 1. Fry until whites set 2. Flip 3. Cook 1 more minute | 1. Fry until whites set 2. Flip 3. Cook 1-2 minutes more | 1. Fry until whites set 2. Flip 3. Cook until yolks fully set |
| Estimated Total Time | 2-3 minutes | 3-4 minutes | 4-5 minutes |
| Yolk Texture | Slightly runny | Partially cooked | Fully cooked |
| Best For | Dipping toast | Sandwiches | No runniness preferred |
Safety measures while frying eggs
When frying eggs, it is essential to practice safety measures to prevent any accidents. Here are a few tips to keep in mind:
- Use heat-resistant utensils: Make sure your spatula or turner is made from heat-resistant materials to avoid melting or warping.
- Use oven mitts: Always use oven mitts or potholders to protect your hands from burns when handling a hot pan.
- Be cautious of oil splatters: Frying eggs can cause oil to splatter. Stand back from the pan to prevent burns, and use a splatter screen if necessary.
- Don’t overcrowd the pan: Cook only as many eggs as can comfortably fit without touching each other. Overcrowding can lead to uneven cooking and potential egg breakage.
Now that you have mastered the art of frying eggs let’s move on to a different cooking method – basting.
Basting Eggs
Basting eggs is a technique that involves cooking eggs in fat while spooning the hot fat over the eggs. This method adds additional flavor and richness to the eggs. Let’s learn more about basting eggs.
The process of basting eggs
You will need a small amount of fat, such as butter or oil, and a frying pan with a lid to baste eggs. Start by heating the fat in the pan over medium heat. Carefully crack the eggs into the pan once the fat has melted and is hot.
Next, use a spoon to scoop up some hot fat and pour it over the eggs. This will help cook the tops of the eggs while keeping the yolks slightly runny. Repeat this process a few times until the eggs are cooked to your desired level.
Remember that basting eggs requires some practice to control the amount of fat and achieve the desired doneness. You can adjust the cooking time and the amount of fat you pour over the eggs based on your preference.
Choosing the right fat for basting
When choosing the fat for basting eggs, you have various options. Butter is a classic choice that adds a rich and savory flavor to the eggs. Olive or vegetable oil can also be used for a more neutral taste. Experiment with different fats to find your favorite flavor combination.
Timing for basted eggs
The cooking time for basted eggs will depend on how runny or well-cooked you prefer the yolks. Generally, basting eggs for around 3-4 minutes will result in slightly runny yolks. If you like the yolks to be fully cooked, you can extend the cooking time to 5-6 minutes. Remember to adjust the cooking time based on your stove’s heat level and the desired doneness of the eggs.
Now that you know how to baste eggs, let’s move on to another popular cooking method: scrambling.
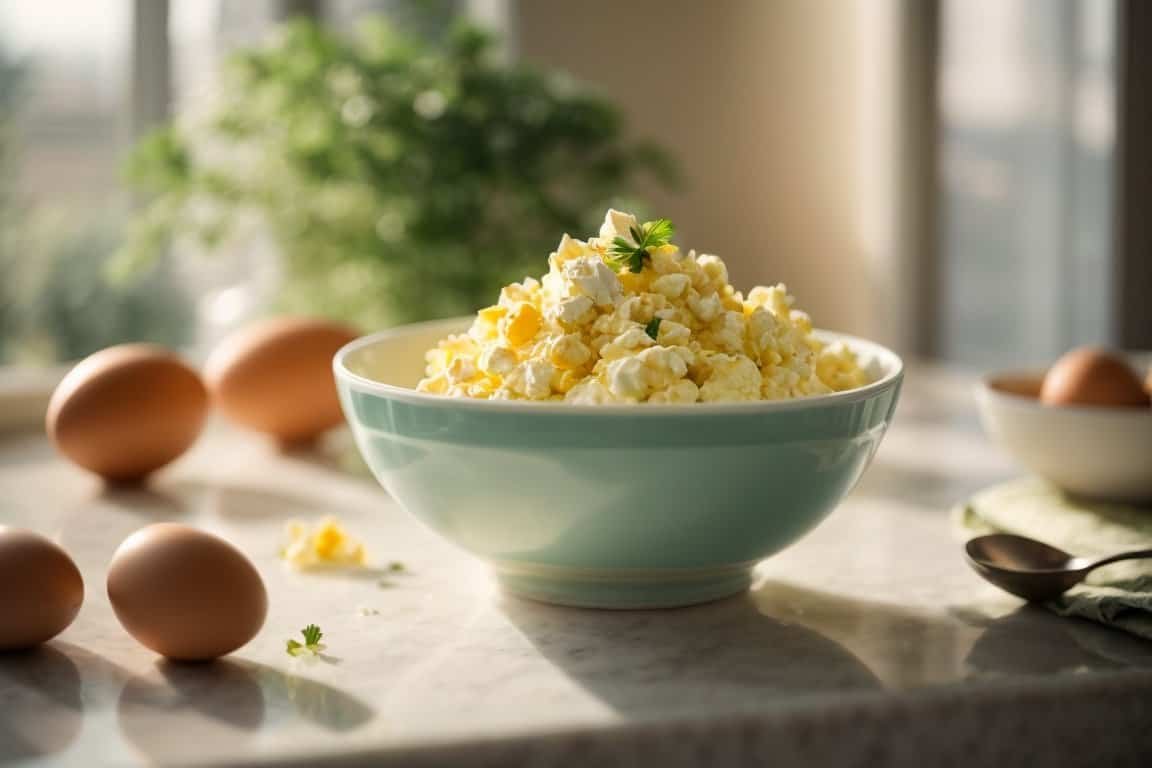
Scrambled Eggs

Scrambled eggs are a classic and versatile breakfast option. They are quick and straightforward to make, and you can easily customize them by adding your favorite ingredients. Let’s explore the process of scrambling eggs.
Preparing the eggs and pan
To get started, crack the desired number of eggs into a bowl. For a single serving, 2-3 eggs should suffice. Whisk the eggs vigorously using a whisk or fork until the yolks and whites are thoroughly combined. This step will ensure a uniform texture throughout the cooked eggs.
Next, heat a non-stick frying pan over medium heat. You can add a small amount of butter or oil to prevent sticking, although a non-stick pan should be sufficient. Allow the butter to melt or the oil to heat before proceeding.
The process of scrambling eggs
Once the pan is heated, pour the whisked eggs into the pan. Allow the eggs to cook undisturbed for a few seconds to begin setting at the bottom. Then, using a spatula or wooden spoon, gently push the cooked portions from the edges of the pan toward the center while tilting the pan to allow the uncooked parts to reach the heat.
Continue pushing and tilting the eggs until they reach the desired level of doneness. For creamy, soft scrambled eggs, cook for a shorter time, around 2-3 minutes. For fully cooked scrambled eggs with a drier texture, increase the cooking time to 4-5 minutes. Remember to adjust the cooking time based on your preference and the number of eggs you cook.
Adding extra ingredients to scrambled eggs
One of the great things about scrambled eggs is that adding extra ingredients can easily enhance their flavor. Some popular options include grated cheese, diced vegetables (such as bell peppers, onions, and mushrooms), cooked bacon or sausage, herbs (such as chives or parsley), and even a splash of milk or cream for extra creaminess.
To add extra ingredients, sprinkle them over the eggs once they start setting in the pan. Gently fold them into the eggs using a spatula, careful not to overmix. Allow the ingredients to cook with the eggs for the remaining cooking time.
Keeping scrambled eggs fluffy
Achieving fluffy scrambled eggs is a goal for many cooks. To keep your scrambled eggs light and fluffy, there are a few things to keep in mind:
- Whisk the eggs thoroughly: Ensure the yolks and whites are fully incorporated for a uniform texture.
- Don’t overmix: Once you add the eggs to the pan, gently fold and push them with a spatula, but avoid continuous stirring. This will allow larger curds to form and create a fluffier texture.
- Cook over medium heat: Cooking eggs over high heat can cause them to become dense and rubbery. Medium heat ensures a gentle and even cooking process, resulting in fluffy eggs.
- Remove from heat early: Scrambled eggs will continue cooking even after removing them from the heat source. To prevent overcooking, transfer the eggs to a plate when slightly underdone. They will finish cooking with the residual heat.
Following these tips, you can enjoy delicious and fluffy scrambled eggs every time.
Now that you have mastered scrambling eggs, let’s move on to a slightly more challenging cooking method: poaching.
Poaching Eggs
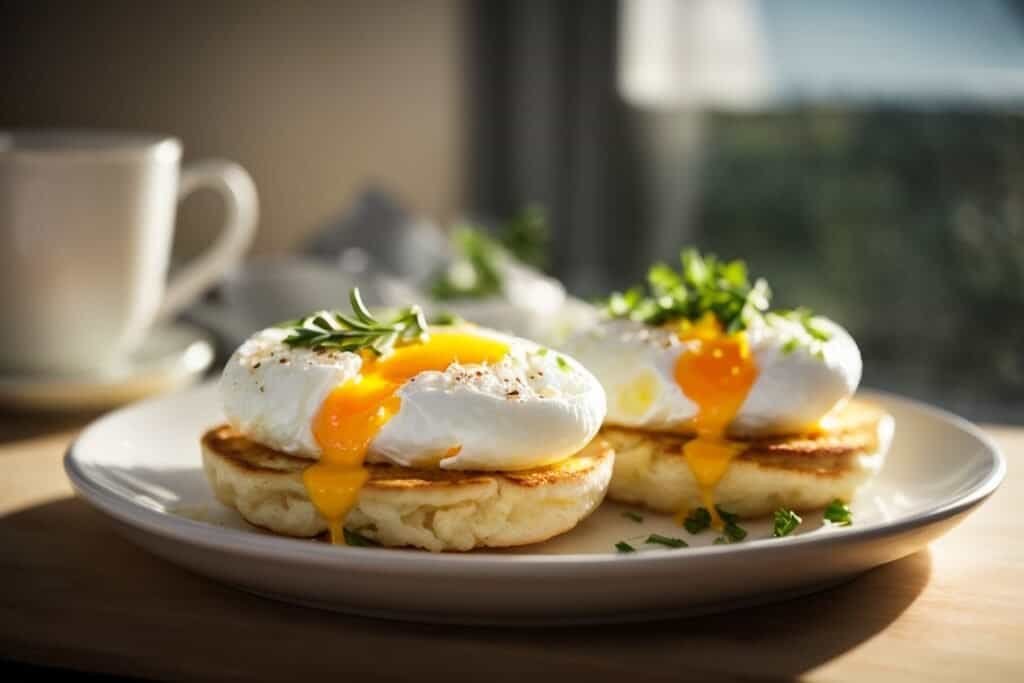
Poached eggs have a silky smooth texture and are popular for breakfast or brunch. Despite their gourmet appearance, poaching eggs is not as difficult as it may seem. Let’s explore the process of poaching eggs.
Preparing the water for poaching
To poach eggs, you will need a shallow pan filled with water. The ideal pan should be wide enough to hold multiple eggs without overcrowding. Fill the pan with water, leaving about 2-3 inches of room from the top.
Next, add a splash of vinegar to the water. The vinegar helps coagulate the proteins in the egg white, resulting in a neater poached egg. However, be mindful not to use too much vinegar, as it can alter the taste of the eggs.
Breaking eggs into cups before poaching
To ensure that the eggs retain their shape while poaching, it’s best to crack each egg into a separate small cup or ramekin before adding them to the water. This step allows you to gently slide the eggs into the water, preventing any impact that could cause the yolks to break.
Crack one egg into the cup at a time, careful not to break the yolks. You can crack the eggs into separate bowls first and then transfer them to individual cups.
Timing for poached eggs
The cooking time for poached eggs can vary depending on your desired level of doneness. Here are some general guidelines:
| Soft-Poached Eggs | Medium-Poached Eggs | Hard-Poached Eggs | |
|---|---|---|---|
| Cooking Time | Approx. 3-4 minutes | Around 4-5 minutes | About 5-6 minutes |
| Yolk Texture | Runny | Slightly runny | Fully set |
| White Texture | Fully cooked | Firm | Fully cooked |
It’s important to note that poaching times can vary depending on the size and freshness of the eggs, as well as the water temperature. If you’re poaching multiple eggs at once, they may take slightly longer to cook.
Testing and removing poached eggs from water
To check if poached eggs are done, carefully lift one egg out of the water using a slotted spoon. Gently press the yolk with your finger to check the firmness. If it feels too soft, return the egg to the water and continue cooking for a minute or two.
Remove the eggs from the water using a slotted spoon once the eggs are cooked to your desired level. Allow excess water to drain before transferring the eggs to a plate lined with paper towels to dry.
Poached eggs can be enjoyed independently, served over toast, or used as a topping for salads, grain bowls, or other savory dishes. Now that you know how to poach eggs, let’s begin baking eggs and making frittatas.
Baking Eggs/ Making Frittatas

Baking eggs or making frittatas is a versatile and easy way to cook eggs. This method allows endless flavor combinations and is perfect for feeding a crowd. Let’s explore the process of baking eggs and making frittatas.
Needed ingredients for baking eggs
To bake eggs or make frittatas, you’ll need various ingredients. The essential components include eggs, milk or cream, and seasoning. You can add multiple ingredients to customize your dish, such as vegetables, cheeses, meats, or herbs.
Preparing the eggs and ingredients
Start by cracking the desired number of eggs into a bowl. The general rule for a frittata or baked eggs is around 6-8 eggs for a 9-inch baking dish. Whisk the eggs until they are well beaten, and the yolks and whites thoroughly combine.
Next, prepare any additional ingredients you plan to add to the eggs. This may involve chopping vegetables, grating cheese, or cooking meats. Having all the ingredients prepped and ready will make the assembly process smoother.
Pouring eggs into baking dishes or ramekins
Once the eggs are whisked, and the additional ingredients are prepared, it’s time to assemble the dish. Grease a baking dish or individual ramekins with butter or cooking spray to prevent sticking.
Pour the beaten eggs into the prepared baking dish or divide them evenly among the ramekins. Ensure the eggs are spread out evenly in the dish or ramekins to ensure even cooking.
Baking times and temperatures
The baking time and temperature for eggs can vary depending on the size of the dish, the number of eggs used, and the additional ingredients. Here are some general guidelines:
| Baking Eggs in a Dish | Baking Eggs in Individual Ramekins | |
|---|---|---|
| Preheat Oven To | 350°F (175°C) | 375°F (190°C) |
| Baking Time | Approx. 15-20 minutes | Around 12-15 minutes |
| Desired Outcome | Center set, edges golden | Center set, tops lightly browned |
Remember that the cooking time may vary, so it’s essential to keep an eye on the eggs and test for doneness by inserting a toothpick or knife into the center. If it comes out clean, the eggs are cooked and ready to be enjoyed.
Baked eggs and frittatas can be served warm or at room temperature. Slice them into wedges or squares and serve as a main dish or a hearty breakfast option. You can also refrigerate any leftovers for a quick and delicious meal later.
Now that you know how to bake eggs and make frittatas, let’s make another classic egg dish: the omelet.
Making an Omelette
Omelets are a popular breakfast or brunch option that can be customized with various fillings. You can create a fluffy and flavorful omelet with a few simple steps. Let’s explore the process of making an omelet.
Ingredients and utensils needed
To make an omelet, you will need eggs, a splash of milk or cream, seasoning, fillings of your choice, and a non-stick frying pan. For a single serving, 2-3 eggs are usually sufficient. Whisk the eggs in a bowl until the yolks and whites are thoroughly combined. Make sure you have all your fillings prepped and ready before starting the cooking process.
Whisking the eggs
Pour the whisked eggs into a bowl and add a splash of milk or cream. This step helps create a lighter and fluffier texture in the omelet. Whisk the eggs and milk together until well combined.
Pouring eggs into the pan
Heat a non-stick frying pan over medium heat and add a small amount of butter or oil to prevent sticking. Pour the whisked eggs into the pan once the butter has melted or the oil is hot.
Tilt the pan slightly to spread the eggs evenly. Allow the eggs to cook undisturbed for a minute or so until the edges start to set. This will prevent the fillings from seeping out when added.
Adding fillings and folding the omelet
Once the edges of the omelet have been set, it’s time to add your fillings. Sprinkle the stuffing evenly over one-half of the omelet. You can choose from various fillings such as cheese, vegetables, cooked meats, or herbs.
Using a spatula or wooden spoon, carefully fold the empty half of the omelet over the filled half. Press down gently to seal the omelet and allow the fillings to heat through. Cook for another minute or until the omelet is fully set and any cheese has melted.
Using a spatula, carefully transfer the omelet to a plate. You can slice it into wedges or fold it in half for serving. Add any additional toppings or garnishes, and enjoy your delicious homemade omelet.
Now that you know how to make an omelet, let’s move on to some essential safety tips to remember while cooking eggs.
Safety Tips While Cooking Eggs
Cooking eggs can be a safe and enjoyable experience if proper safety measures are followed. Here are some essential tips to ensure your safety while cooking eggs.
Avoiding cross-contamination
To avoid cross-contamination, handling eggs and egg-related products is essential. Make sure to wash your hands thoroughly before and after handling eggs. Use separate cutting boards and utensils for eggs and other ingredients. This will help prevent the spread of bacteria from eggs to other foods.
Proper storage of eggs
Eggs should be stored in the refrigerator at a temperature of 40°F (4°C) or below. Keeping eggs in their original carton is important, as it provides additional protection and helps prevent the absorption of odors from other foods in the refrigerator. Avoid storing eggs on the refrigerator door, as the temperature there can fluctuate.
Checking eggs for freshness
Before using eggs, it’s a good idea to check their freshness. As mentioned earlier, you can perform a freshness test by placing an egg in a bowl of water. It is fresh if the egg sinks and lies flat on its side. If it stands upright or floats, it is best to discard it.
Additionally, inspect the eggs before cracking them. Look for any visible cracks or signs of spoilage. If an egg smells off or has an unusual appearance, it’s safest not to use it.
Avoiding salmonella risk with raw or lightly cooked eggs
To reduce the risk of salmonella, it is recommended to cook eggs thoroughly. Consuming raw or lightly cooked eggs may increase the risk of foodborne illness. If you prefer eggs with a runny yolk, it’s important to use pasteurized eggs, which have been treated to kill bacteria.
If you’re making homemade Caesar salad dressing, hollandaise sauce, or mousse that calls for raw or lightly cooked eggs, consider using pasteurized eggs or pasteurized egg products to reduce the risk of foodborne illness.
Following these safety tips, you can enjoy cooking eggs without compromising your health and safety. Let’s move on to tips for consistently achieving perfectly cooked eggs.
Tips for Perfectly Cooked Eggs Every Time
Now that you have mastered the basics of cooking eggs, here are some additional tips to help you consistently achieve perfectly cooked eggs.
Salting the eggs
Adding salt to the beaten eggs can enhance their flavor when cooking eggs. Salt helps to season the eggs and bring out their natural taste. However, if you’re watching your sodium intake or prefer to add salt later, feel free to skip this step.
Heat control
Controlling the heat is crucial for cooking eggs. High heat can cause eggs to cook too quickly, resulting in a tough texture. Medium heat is generally the best option for cooking eggs, as it allows for even cooking and prevents them from becoming rubbery.
The role of fat in cooking eggs
Adding fat, such as butter or oil, to the pan when cooking eggs serves multiple purposes. It prevents sticking, enhances flavor, and helps create a beautiful golden color. However, if you prefer to reduce your fat intake or have dietary restrictions, you can cook eggs in a non-stick pan without added fat.
Perfecting the flip
If you’re cooking fried or basted eggs and want to achieve a perfect flip, practice makes perfect. Use a spatula to carefully slide under the eggs, ensuring you get under the whites and the yolk. Gently lift and flip the eggs, ensuring they land back in the pan seamlessly. With a bit of practice, you’ll master the art of the flip in no time.
Understanding your preference for egg doneness
Finally, remember that everyone has their preference for the doneness of eggs. While guidelines and cooking times can be helpful, it’s essential to experiment and find out what you enjoy best. Keep practicing and adjust the cooking times or techniques to suit your taste.
Cooking eggs is a skill that can be developed and perfected over time. With the knowledge and tips in this article, you are well-equipped to cook eggs in various ways. Whether you prefer boiled, fried, basted, scrambled, poached, baked, or made into an omelet, you now have the tools to create delicious and satisfying dishes. So, get cracking and start your egg-citing culinary journey today!
Q: What is the white stringy thing in the egg? Is it safe to eat?
A: The white stringy part in an egg is known as the “Chalaza.” It’s a twisted strand of protein and egg white that helps anchor the yolk in place. Rest assured, it’s completely safe to consume.
Q: Does the size of the egg matter in recipes?
A: Yes, the size of the egg can make a difference. Most recipes and professional kitchens recommend using large eggs for consistent results.
Q: Is there a difference between white and brown eggs?
A: Yes, the size of the egg can make a difference. Most recipes and professional kitchens recommend using large eggs for consistent results.
Q: How long should I boil eggs?
A: The boiling time depends on your preference for hard or soft-boiled eggs. Generally, hard-boiled eggs take about 9-12 minutes, while soft-boiled eggs take about 4-6 minutes.
Q: What’s the difference between sunny-side-up and over-easy eggs?
A: A sunny-side-up egg is fried only on one side, with the yolk facing upwards. An over-easy egg is flipped during cooking to lightly cook the yolk, which remains runny.
Q: Where should I store eggs in the fridge?
A: Eggs should be stored in their original carton on the top shelf, towards the back of the fridge for optimal freshness.
Q: How do I remove eggshells from a bowl?
A: If you accidentally drop a piece of shell into your bowl, use half of the eggshell as a “magnet” to easily scoop it out.
Q: Do I need to add milk or cream to scrambled eggs or omelettes?
A: While it’s not mandatory, adding a tablespoon or two of milk or cream can make your scrambled eggs or omelettes extra creamy.
Q: How long do eggs last in the fridge?
A: With proper storage, a carton of eggs can last between 3 to 5 weeks in the refrigerator.